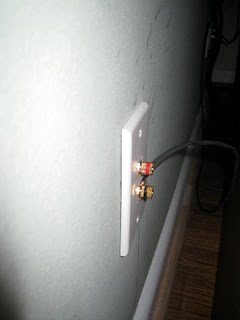
I spent yesterday helping a friend of mine install a pair of in wall speakers. It was surprisingly easy, particularly because we didn’t have to cross any studs. The installation was simple, speaker up high connected to a jack down low. The lower jacks aren’t close to each other but everything down low is hidden by a buffet table. The stereo is hidden in the buffet.
Installing the speakers is exactly like installing an old work box, only much larger. An “old work box” is an electrical box that is designed to be added to a wall after the walls are up. The old work box attaches to the wall with a couple of clamps that compress the box to the drywall. Basically, you cut a hole the size of the box, slide the box in and then tighten the tabs against the wall. The first 40 seconds of this video do a good job explaining how they work: http://www.youtube.com/watch?v=egHkOIr4RNE
In my friend’s case, the speakers have 6 tabs, and it’s a larger hole.
Installation was easy:
- Used a stud finder to mark the studs, you can’t install the speakers if there’s a stud in the way.
- We used a pattern that came with the speakers to mark the where the speaker holes should go.
- We cut the holes. Cutting them was easy, we drilled a hole in each corner and used a drywall saw to cut the square out.
 |
| The before picture. |
 |
| Speaker bindings, we probably should have taken the picture before putting the furniture back. |
 |
| Finished! |